Showing posts with label crafting. Show all posts

Wednesday, 10 April 2013

Diaper Cover Conversion: Velcro to Snaps


Baby girl has officially outgrown her smaller prefolds and diaper covers, but I've been reluctant to bring out the bigger size. I knew the velcro was nearly non-functional on all of the diaper covers, and I just didn't want to deal with covers that didn't close securely. So I put it off. I've been using disposables in the meantime, but of course that means both more waste and more money.

Also, more blowouts. Gross.

I am not a fan of Velcro or Aplix diaper closures. The Velcro/Aplix gets full of junk, they don't fasten as securely as snaps do, they catch on things, and they just end up being a frustrating mess (and yes, I do use the laundry tabs). I replaced the velcro on half of them when my last baby was in them, but it didn't hold up well and I didn't even bother with the remaining ones. Why replace the velcro only to do it again for the next baby?

I tried to ignore it a bit longer, but then I watched poor girl crawling along the carpet one day. Because the velcro no longer closed all the way, the end of the tabs caught on the carpet each time she moved. She sounded like our old cat as she walks across the room, rip rip rip, nails catching the carpet with each step. The velcro had to go.

I debated for a while. Bummis now sells snap-closure covers (kudos to them!), but I didn't really want to invest in new covers when these ones (Bummis Super Whisper Wraps) were, velco aside, perfectly fine. The elastic is great, they don't leak, and if I could just fix the velcro they'd be perfect.

So if I wasn't going to replace the covers, I needed to figure out the best way to fix them up. Our local fabric store has recently added some cloth diaper making supplies to their stock, but the snap pliers had poor reviews. So even though it meant I couldn't pick them up locally, I went ahead and ordered the KamSnaps pliers and a few (*ahem* hundred) snaps.

While I waited for my snap pliers to arrive, I unpicked the velcro from the diaper covers, including the laundry tab. It all came off quite easily. I snipped off the velcro on each side of the front piece, as it was sewn directly into the diaper seam and I didn't want to mess with that. I just clipped it as close to the seam as I could and called it good.


Once the velcro was removed, I noticed that the diaper tabs were showing quite a bit of wear. There was some stretching, the polyester fabric was rubbing off the laminate in places, and some of the removed stitching had left noticeable holes behind.


I had bought a small amount of plain PUL from the fabric shop, so I used that to reinforce the tabs. I simply cut out the rough shape of the tab and hand-stitched it on.

(Yes, I hand-stitched it. I tried to use my sewing machine, but apparently PUL is finicky to work with and I didn't have the correct needle. Machine-sewing would, of course, have been much faster, but I don't have great swaths of time in which to do this sort of thing and having to set it all aside to make another trip to the store simply wasn't going to happen. For future reference, have a #9 ballpoint needle handy if you want to use your machine to sew with PUL.)

I used a double layer of PUL on the tabs, which made three layers of PUL in which to embed the snap. This served the triple purpose of covering the holes left from the old stitching, strengthening the tabs, and providing greater reinforcement for the snap. Use polyester thread rather than cotton to prevent wicking.


Then came the big day: The snap pliers arrived. Made my day. It's the little things.

I used a strip of a cereal box to make a template. I set 6 holes for the snaps 3 cm apart on the first diaper. I wasn't unhappy with it, but after trying it on the baby, I decided a slight bit more flexibility would have been useful, so I set 8 snaps 2.5 cm (1 inch) apart on the remaining diapers. Then I tried the cover on the baby again, used a pen to mark where the tab snap should go, and set one snap in each tab.


Done! The snap pliers worked amazingly well. Each of the 48 snaps set perfectly the first time. No regrets at all over this purchase. All in all, it was still cheaper than outright replacing the covers, and I have so many other projects that I intend to use the pliers on as well (starting with a few of these adorable dress-to-romper conversions). Oh, the possibilities.


Need more details? Check out these excellent tutorials:
Cloth Diaper Conversion – Velcro to Snaps Tutorial
bumGenius Snap Conversion


Linking up with Your Green Resource...

Wednesday, 26 September 2012

Fall Leaf Sugar Cookies

Part of our journey towards a more intentional life has included incorporating rhythm into our days, weeks, and years, ensuring that the things we value are not forgotten as our time idly slips away from us.

One aspect of such rhythm has been the deliberate observance of the passing of the seasons. Last autumn we canned pasta sauce, salsa, and cinnamon peach preserves, hoping that the process of slowing down after summer and preparing for winter would become a new family tradition.

This year, however, with a new little one in my arms, I simply wasn't feeling up to the slow work of putting food away for the winter. We still wanted to celebrate the beginning of a new season, but it needed to be something less involved.

And so the boys and I made fall leaf sugar cookies. Simple, fun, and memorable, they declared it the best day ever.

(Thank you, Pinterest, for the inspiration!)


We began by whipping up a batch of sugar cookie dough (I used this recipe based purely on ratings). Before chilling the dough, we separated it into batches and added food dye.

Once it was chilled (and dinner was finished), we moved on to the fun part!


Pull off pieces of dough and arrange them in a patchwork on your floured (or, in our case, "parchmented") surface.


Roll the dough into a smooth surface, 1/4 to 1/2 inch thick.


Beginning cutting out your cookies! We made leaves, turkeys, and pumpkins. The boy and I each used a toothpick to draw designs on the cookies. The toddler ate the dough.


The re-rolled dough had more of a marbled effect. (By the third re-roll, the mixed colours were looking pretty dingy.)


The rest is self-explanatory! Bake 6 to 8 minutes at 400F (or as per your recipe) and cool on a wire rack. Enjoy!

Friday, 24 February 2012

Painter's Tape Roadway

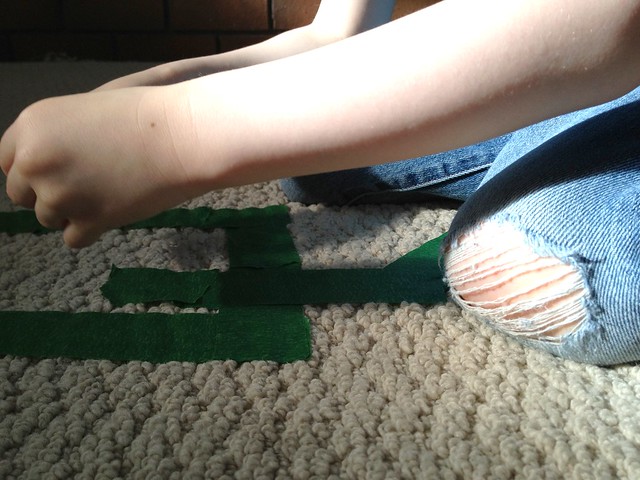
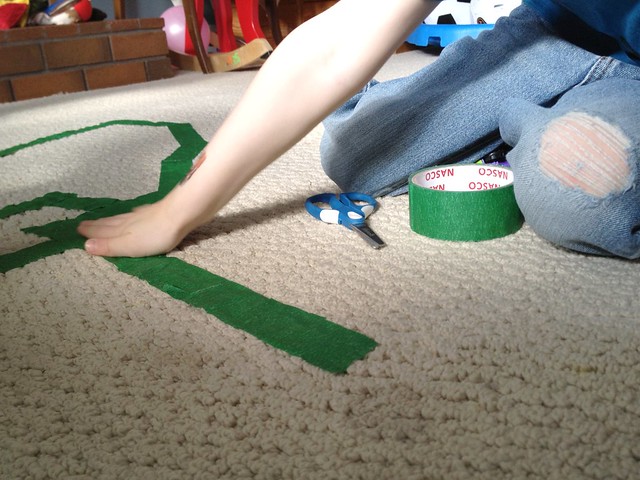
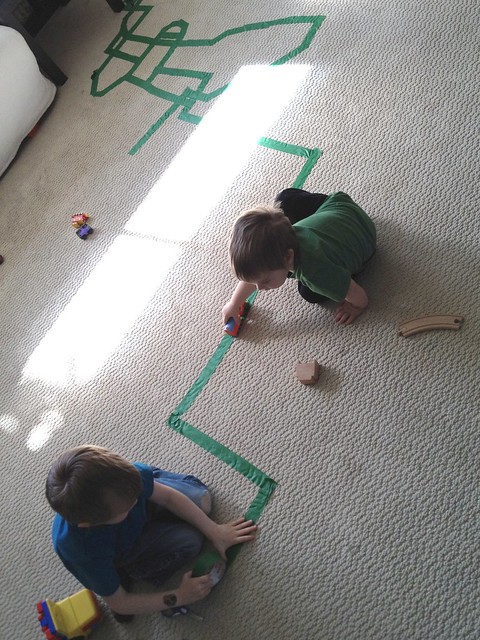
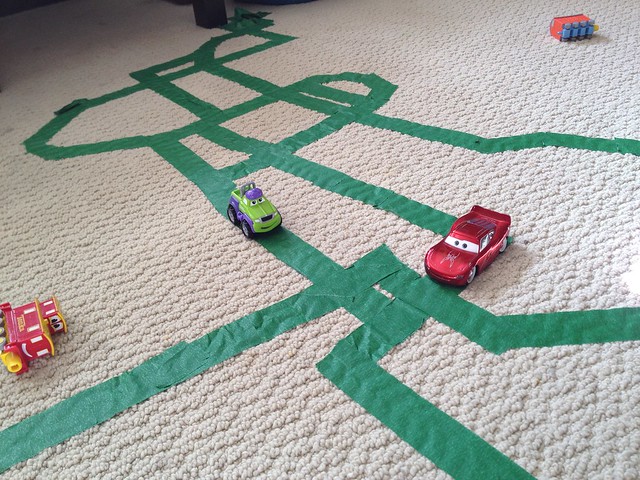
Yesterday I handed the boy a fresh roll of painter's tape and suggested he use it to build a road on the carpet. Immediately his eyes lit up with excitement.

"I can put tape on the carpet??"
"Can I use as much as I want??"
"What if I use the whole roll?"
"Thank you, Mommy, for letting me do this!"


I first saw the idea on Pinterest (you can find my Pinterest boards here!), where Imagination Soup had done this project using coloured duct tape. Thanks for the inspiration, Imagination Soup!

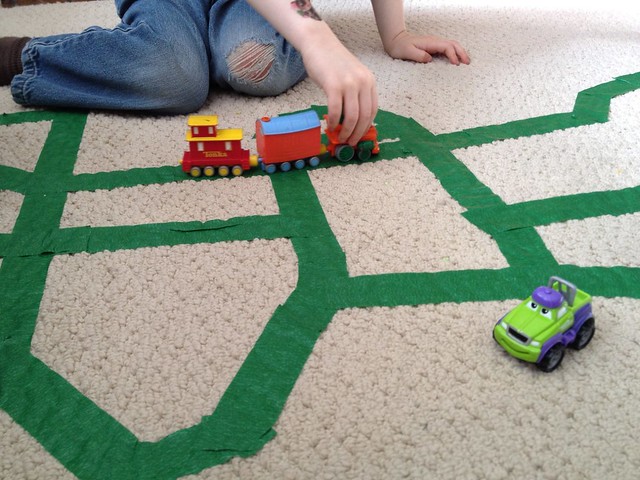
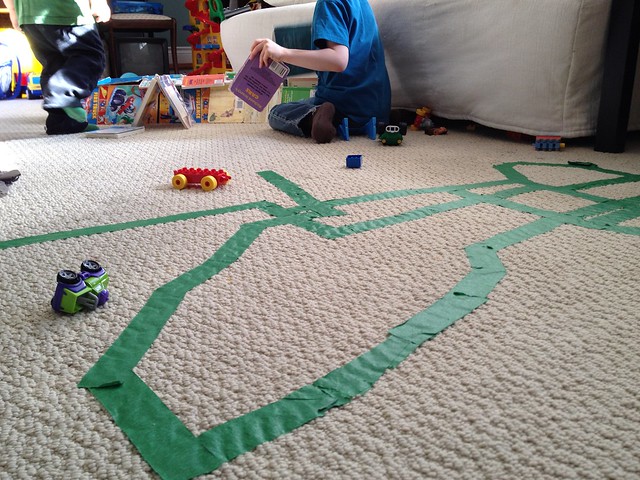
The boy started off small, preferring to cut and precisely place small pieces of tape. He soon had an elaborate combination of curves and straight lines.


He had a very particular system worked out as to which parts were road and which parts were train tracks. I know, because I drove a car on the train track and was quickly reprimanded.


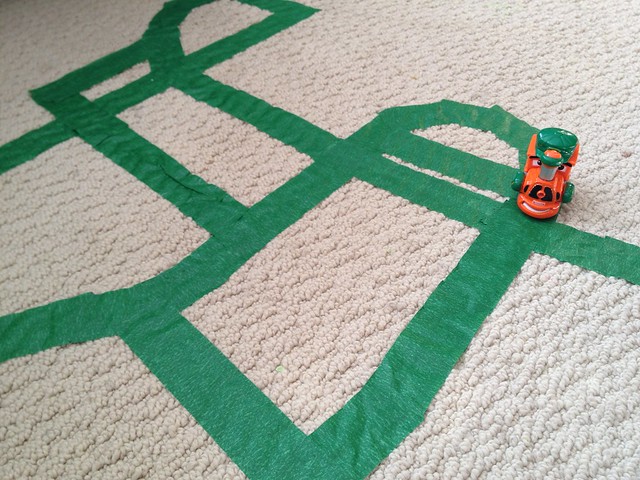
Eventually he moved on to bigger and longer roads, taking his road halfway across the room in one fell swoop.


He finished off with a little ramp for good measure.


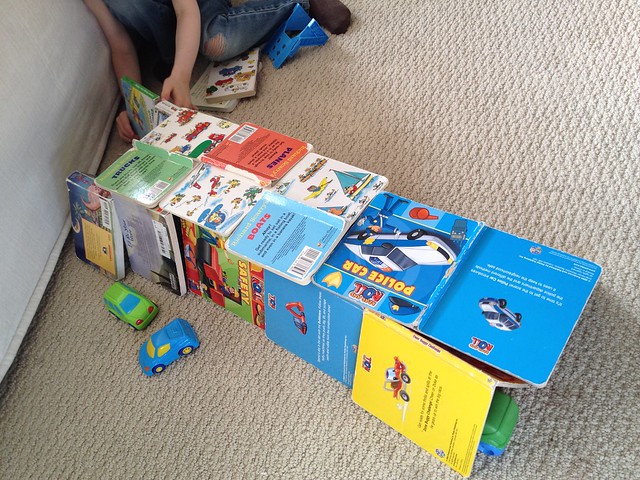
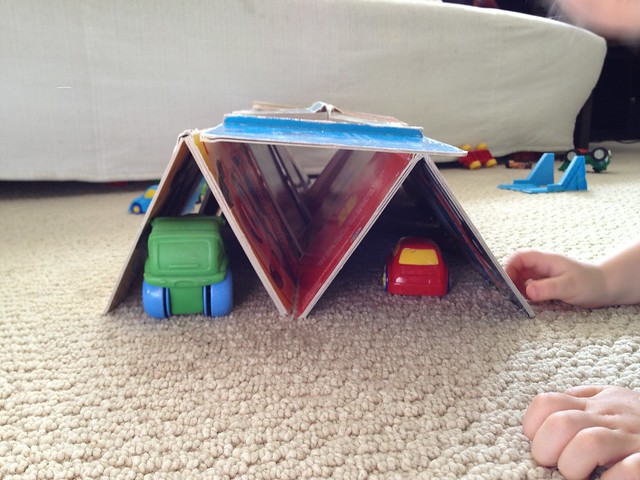
When the road was done (aka the tape ran out), they moved on to making a house out of board books.


Or maybe it was a parking garage.


The road is still there and holding up well. I think we'll pull it up this weekend (I've already checked; it comes up smoothly!), but this will definitely be a project we'll tuck away for another rainy day. Time to stock up on more painter's tape!


Friday, 10 February 2012

We're going on a treasure hunt!

After breakfast was finished this morning, I prompted the boy to look underneath the pile of placemats on our kitchen table. Grinning in anticipation, he ran over and looked under each one individually until he got to the bottom of the pile, where he found...
the first clue!

And so began our treasure hunt. I'd hidden the clues (below) and "treasure" (a sweet treat!) before going to bed last night, so all I had to do today was sit on the couch and read each clue as they brought it to me. A nice quiet way for me to start the day; a fun active way for them to run around the house and blow off some too-many-rainy-days energy!

The boy had a great time trying to figure out where each clue was hidden. The toddler chased after him for the first half, then lost interest and played with his Duplo until he could have his older brother's undivided attention again. Ah, big brother adoration. So sweet.

As soon as all of the clues were followed and the treasure found, the boy wanted me to hide each of the clues again. Definitely a successful activity!

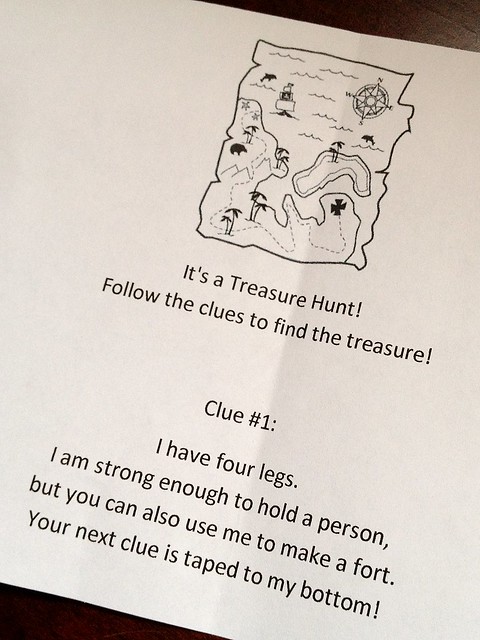
These are the clues we used. Feel free to use, modify, or share them for your own treasure hunts!


It's a Treasure Hunt!
Follow the clues to find the treasure!

Clue #1:
I have four legs.
I am strong enough to hold a person,
but you can also use me to make a fort.
Your next clue is taped to my bottom!


Clue #2:
You'll find me in the place where these live:


Clue #3:
Brr! It was cold in there!
Your next clue is staying cozy above something very warm!


Clue #4:
I'm hiding in the pocket of something that rhymes with this:


Clue #5:
When you're feeling a little dirty
there's just one place to go
to wash and get all squeaky clean
and scrub between each toe!


Clue #6:
*Yawn!*
Getting tired of all these clues?
Come have a nap with me!


Clue #7:
Go stand in front of the fireplace!
Now take two GIANT steps forward.
Turn to your left.
Walk until you crash into something!
Now come have a ball with me!

[The clue was hidden in the pile of balls we store under our ExerSaucer.]


Clue #8:
Read this word:
CAT
Now go look below its:
FOOD
and you'll find me!


Clue #9:
Have wet clothes?
Come visit me!
I'll dry them for you
as quick as can be!


Clue #10:
Stand on one foot and jump up and down.
Now find a boat, look inside, and your treasure will be found!


Happy playing!

Friday, 27 January 2012

Mess-free finger painting

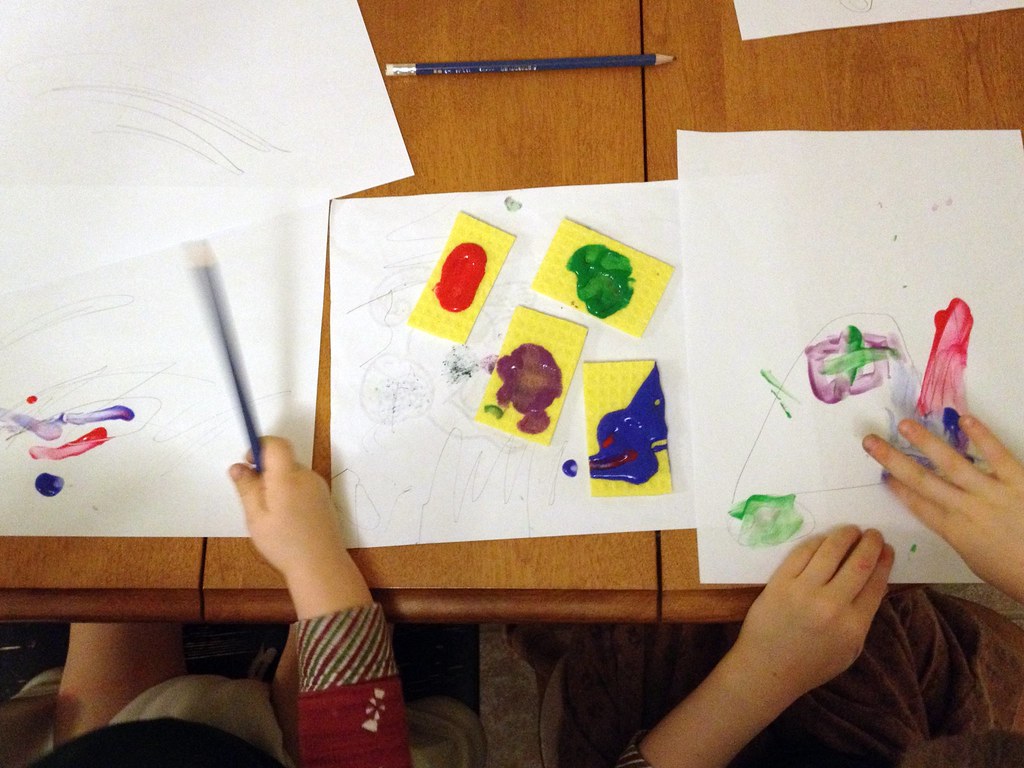
Last week I put together a mess-free finger painting project for the boys. This was definitely a success! I first saw the idea on Pinterest (you can find my Pinterest boards here!), where Mama Smiles had done this project using blue hair gel. I used tempera paint, making this a great colour-mixing experiment at the same time.


I squirted two primary colours into each of the three Ziplock freezer bags, put a white piece of paper under them, and taped the whole thing down with painter's tape. Then I let the eager boys have at it!


They first experimented with each bag to see what new colour was made when mixing the two primary colours together. Then they drew pictures, made handprints, and drove their cars over the paint to see the tire tracks. Turns out cars aren't exactly gentle on the bags. After a couple quick repairs with masking tape, the cars were parked for the rest of the activity.


Next time I will make sure I get all of the extra air out of the bags before taping them down. A couple of the bags had air bubbles in them, which were much harder to remove once the paint was spread throughout the bag. Painting worked much better with the air bubbles removed.


We kept the bags taped to the table all week, removing them only when we had company coming for dinner. Now I have them tucked away, ready to be brought out and reused again at a later time. In the meantime, good old fashioned finger painting is still a very popular way to pass an afternoon!


Thursday, 29 December 2011

Visual family journal

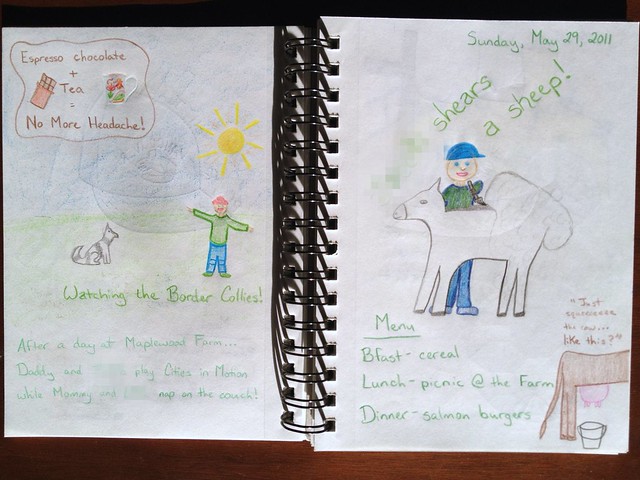
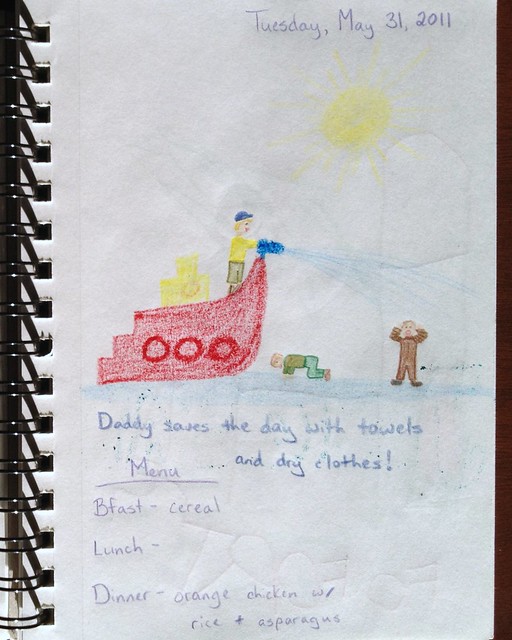
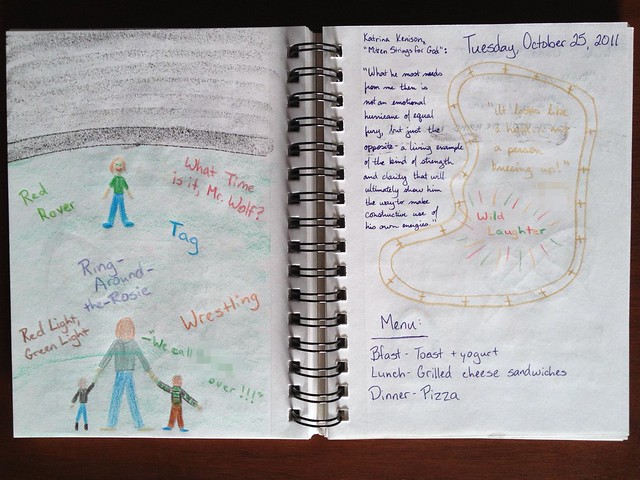
On Mother's Day this year, I sat down with a blank journal and a new pack of pencil crayons to record the day's events. It wasn't anything extravagant - the boy and I had completed a dragon puzzle together, I had done some sewing for an upcoming birthday, and I had reflected on both those who were mothers to me and those who had made me a mother - but I put it to paper anyway.

(All names removed from all photos.)

The year is ending and I look fondly through the pages. I am amazed at how strongly the recorded memories stick, no matter how little and unremarkable they seemed at the time. Some weeks I recorded daily, while busier weeks were summarized on a page; it is the detailed daily entries that best capture those ordinary moments. If I don't write it down, I will forget.

Our trip to the farm, where the boy sheared a sheep.

An unexpected soak in the local splash park.

A friend's fifth birthday party.

But it's not just my journal; it's our family's journal. Often the boy joins in, drawing his own memories of the day. Sometimes he labels them, asking me for help with the spelling; other times I record his descriptions and commentary.

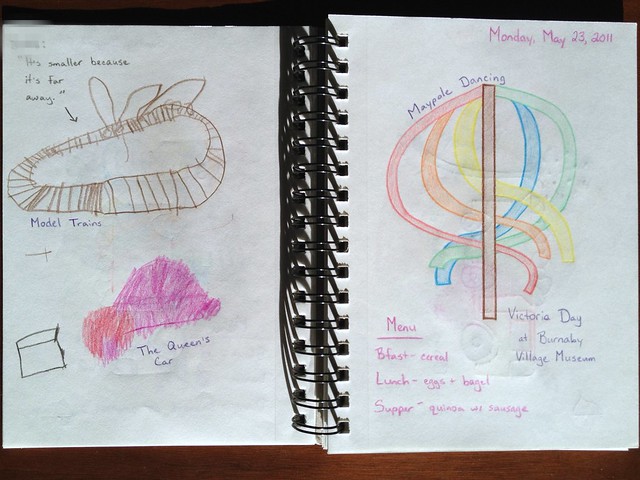
"It's smaller because it's far away."

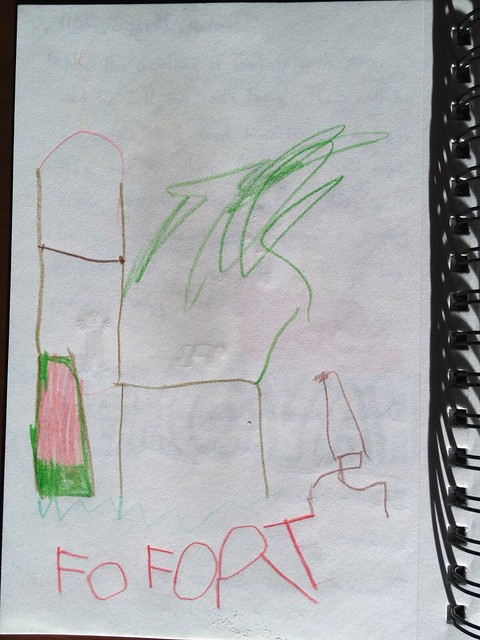
The day's fort.

Our trip to Playland, including riding the helicopters and the log water ride.

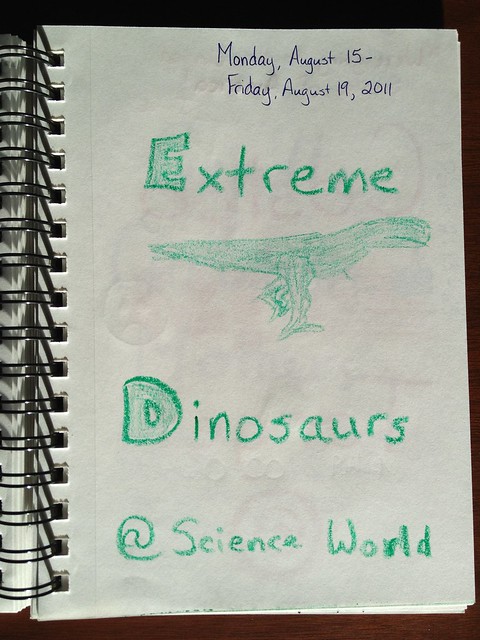
Sometimes even the husband can be persuaded to lend his artistic talent to our journal;
my dinosaur would have been far less impressive than his.

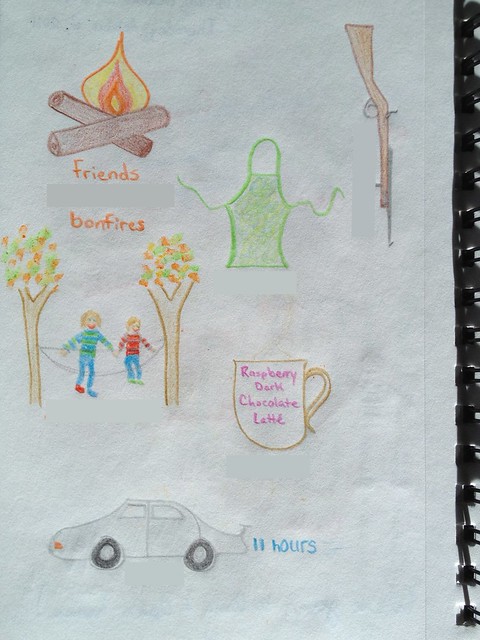
Collages of family vacations record our favourite memories of our time together. Little things, like a shared conversation over a cup of coffee raspberry dark chocolate latte, are recorded alongside the big things, like trips to the amusement park, as they are equally treasured in our hearts.

Thanksgiving with the in-laws.

A week with my mother-in-law, including some mountain climbing.

Summer vacation with the in-laws.

Summer vacation with my parents and sisters.

But as valued as those times together are, the silence upon our return can be just as golden.


Sometimes the unexpected happens, and the entries become even more precious than I initially imagined they would. Only hindsight reveals the true importance of an enjoyable yet seemingly unremarkable day.

Our last visit with Granddad, only a week before he passed away.

New favourite recipes are occasionally featured, memories of not only the ingredients and steps, but the time spent together making and then eating them.

Delicious pretzels, along with the boys' collaborative city.

Some days, Mommy just needs chocolate.

The most precious entries to me are reminders of the lessons these boys of mine have taught me. I seek to raise them in the knowledge and love of God, but it is they who teach me, opening my eyes to wonder and beauty and oh, freedom.


Quotes, verses, and summarized blog posts remind us of the things that had been on our hearts and minds.

"...what he most needs from me then is...strength and clarity..."

"He guides me along the right paths for his name's sake."

"...proclaim the excellencies of him who called you..."

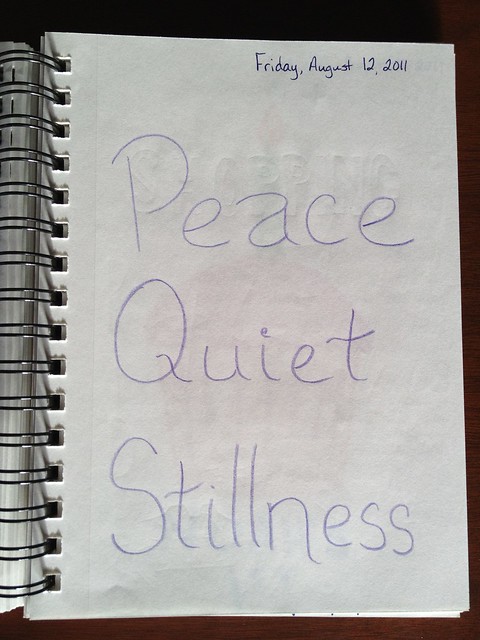
"Seek peace and pursue it."


I am no artist, but the memories remain anyway.

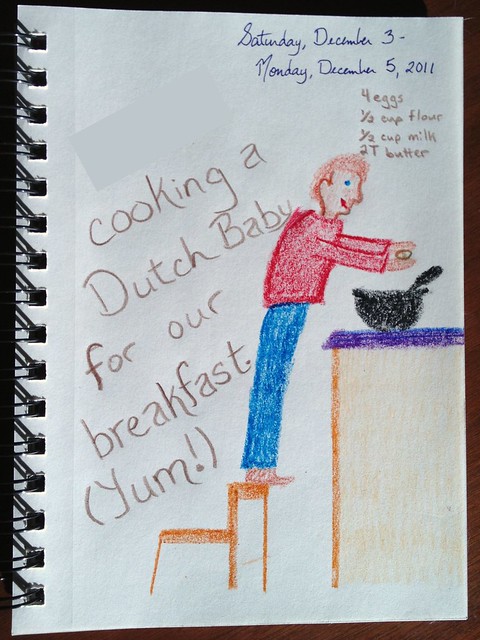
Truly, the boy wasn't leaning precariously off the edge of the stool,
nor does he have a hunchback, nor are our countertops bright purple.
But he sure was proud of himself for making breakfast for the family on his own that day.


Pictures and words, hopes and prayers, achievements and gratitude, menus and quotes, tragedy and comedy, daily celebrations of our life together - this family journal of ours is our place to get it all down. We collect these bits of our lives between the white pages, seeking, as always, to find the extraordinary in the most ordinary of moments.

I would love for you to share: How do you record your family's most precious memories?